Tired of the same old Valentine's Day nails? This year, try ombre! It's trendy, customizable, and stunning. This guide provides easy tutorials, from beginner-friendly to more advanced designs, perfect for any skill level. Get ready to create gorgeous, unique nails that will turn heads!
Gather Your Nail Art Arsenal
Before we begin, gather your supplies. It's like baking—having everything ready makes the process smoother. You'll need:
- Base coat (protects your nails and improves polish adhesion)
- Top coat (seals the design, preventing chips and enhancing shine)
- Valentine's Day-inspired nail polishes (at least two colors for the ombre effect—think reds, pinks, rose golds, or even black and red!)
- Small makeup sponge or sponge wedge (your ombre tool)
- Nail polish remover (for those inevitable mistakes)
- Cuticle pusher (to tidy your cuticles)
- Nail file (to shape your nails)
- Optional extras: Glitter, rhinestones, or heart stickers (for added flair)
Ombre Nail Art Masterclasses: Step-by-Step
Here are five ombre Valentine's Day nail designs. Remember, these are starting points; mix and match colors and techniques to create your own unique look!
1. Classic Red & Pink Ombre: Simple and Sweet
- Apply a base coat and let it dry completely. This is crucial for a lasting manicure.
- On your sponge, dab a stripe of red polish, then a pink stripe next to it.
- Gently press the sponge onto your nail, starting near the cuticle and moving towards the tip, dabbing repeatedly until you achieve the desired color intensity. Build color gradually.
- Let it dry, then apply a top coat for shine and durability. Isn't this a perfect way to celebrate the holiday?
2. Romantic Rose Gold Ombre: A Touch of Glamour
This is perfect for a sophisticated Valentine's Day look.
- Apply a base coat.
- On your sponge, apply light pink, then rose gold polish.
- Dab onto your nails, starting near the cuticle for a soft fade. Gentle dabbing is key!
- Once dry, apply a top coat for shine and longevity. This design adds just the right amount of sparkle.
3. Bold Black & Red Ombre: Edgy and Chic
Ready for something daring?
- Apply your base coat.
- Create a gradient on your sponge using black and red polish. Experiment with the color ratio.
- Dab the sponge onto your nails, adjusting placement for the desired effect.
- Finish with a top coat for a polished look. This design makes a bold statement for a memorable Valentine's Day.
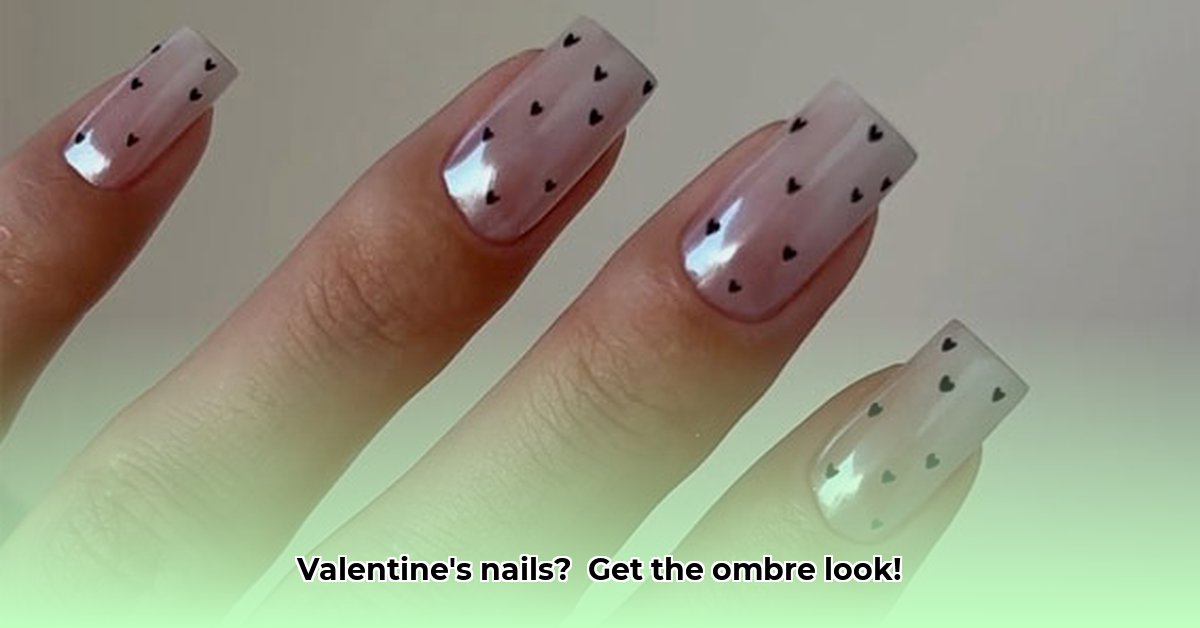
4. Subtle Nude Pink Ombre with Heart Accents: Delicate and Playful
- Apply a nude pink base.
- Use a slightly darker pink on your sponge for a subtle ombre effect.
- Add tiny heart stickers or hand-paint hearts for a touch of Valentine's Day charm.
- Finish with a top coat. A subtle look with a delightful touch!
5. Glittery Rainbow Ombre Hearts (Advanced): For the Confident Nail Artist
This design is more challenging but rewarding.
- Apply a base coat.
- Use various shades of pink, red, and purple for a rainbow ombre effect. Experiment with color placement on your sponge.
- Apply colors to the sponge, then carefully dab onto your nails.
- Add tiny glitter hearts using a fine-tipped brush or dotting tool—take your time!
- Apply a top coat. A stunning, dramatic design for those who like to challenge themselves!
Pro Tips for Pro-Looking Nails
- Less is more (with polish): Use thin coats on your sponge to avoid a messy finish.
- Gentle dabbing: Press gently; harsh pressure ruins the gradient. Dabbing creates a soft, blended look.
- Clean up is key: Immediately clean up smudges with nail polish remover and a small brush. This step is important for the polished look.
- Top coat is your best friend: Apply several coats for shine and protection.
Remember, practice makes perfect! Don't be discouraged if your first attempt isn't perfect. Experiment, have fun, and Happy Valentine's Day!